Day 5
Having finished the scraping, we made an attempt to clean up the whole tank by vacuuming and wiping down with a damp cloth.
Now the fun part. The sort of maintenance task that, had my Mom caught me doing something like it when I was a kid, I'd have been in Real Trouble.
This is the sort of task where it's real easy to underestimate the time required. How hard can it be to slap a bunch of sealant in there? 30 minutes working time? Plenty of time. Fortunately we elected to do the sealing in two batches: first the top of the spar and then the bottom. Fletchair supplied two 1/2 pint kits of sealant, which were our two batches.
Not having the benefit of experience with the characteristics of this particular sealant, we prepared for a variety of methods of applying it. I had brushes, scrapers, etc... on hand, but what turned out to be the winner was a 3/4 oz. syringe. That, and my own 5 fingers.
The critical areas to get sealed good are the directly above and below the spar. Look at your wing ribs next time you have a wingtip off and you'll see that there's a gap between the rib and the spar above and below the spar. The fuel tank ribs are the same way. I began by using the syringe to shoot sealant into the area above the spar from the front. This was marginally successful in getting the sealant to the exact spot, so while my partner refilled the syringe, I packed the sealant into the area by hand (gloves were helpful until they started to tear). It's a little like packing a wheel bearing, except that the sealant is sticky, and had a tendency to pull back whenever I'd back out of it. More than once I almost pulled my hand out and left the glove. We continued this until we could see sealant coming out the back side. After we were sure we had the problem area taken care of, slobbering the sealant on the open areas was trivial. In fact, it just about took care of itself.
And then we rested.
Doing the area below the spar was a repeat of the area above. One uncertainty we had in the first area was if the sealant was actually packing into the rib/spar area, or was just washing out along the spar away from the rib. We tried placing a piece of Plexiglass about 1.5" out from and parallel to the rib under the spar to try and contain the sealant. Because of the tendency of the sealant to pull back when the Plexiglass was removed, it was probably a wash.
We let that sit and went to lunch.
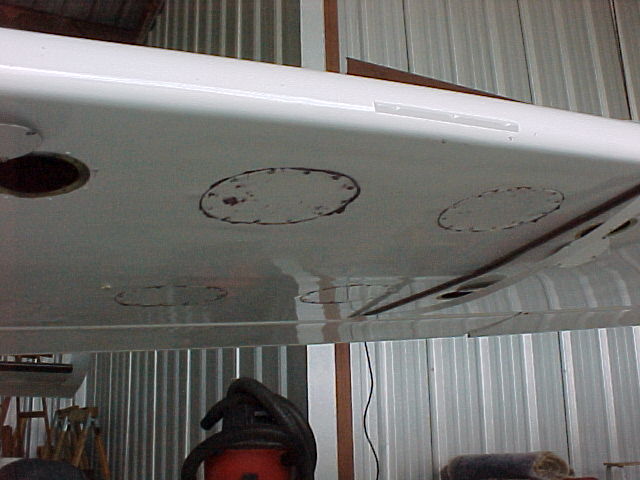
The last task was reinstalling the access covers. This should be a relatively common job so I won't go into details. Suffice it to say that after the rest of the project, this was trivial.
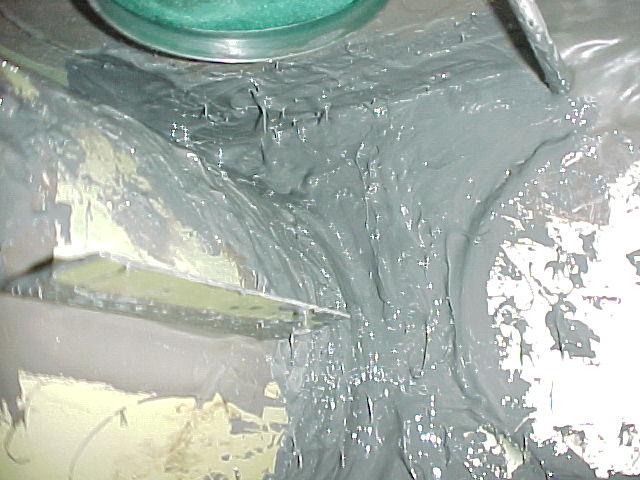
| Top/forward of the spar. Yuk. |
| |
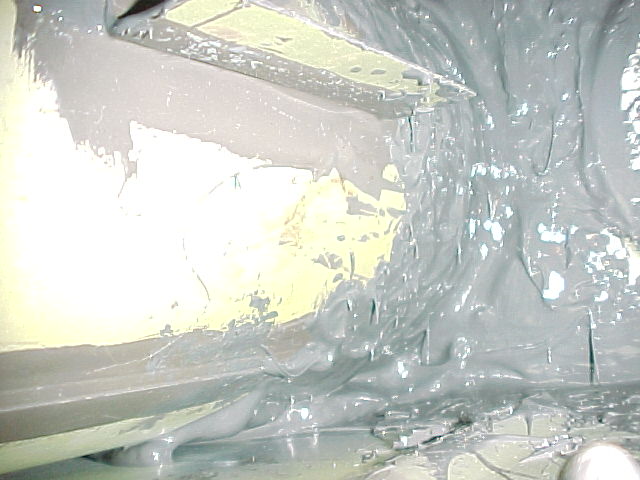
| Bottom/forward of the spar. |
| |
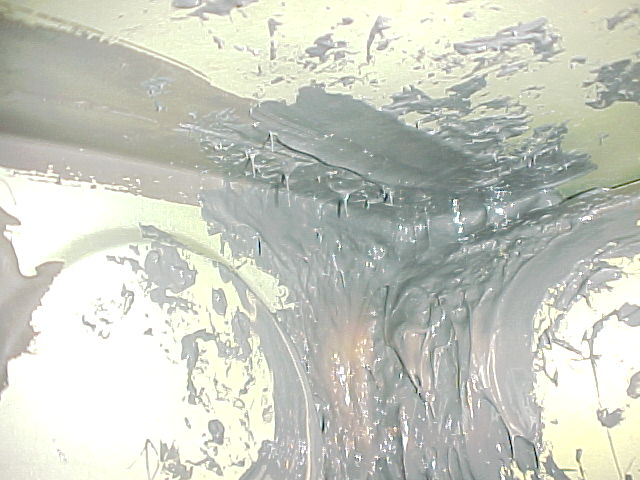
| Top/aft of the spar. |
| |
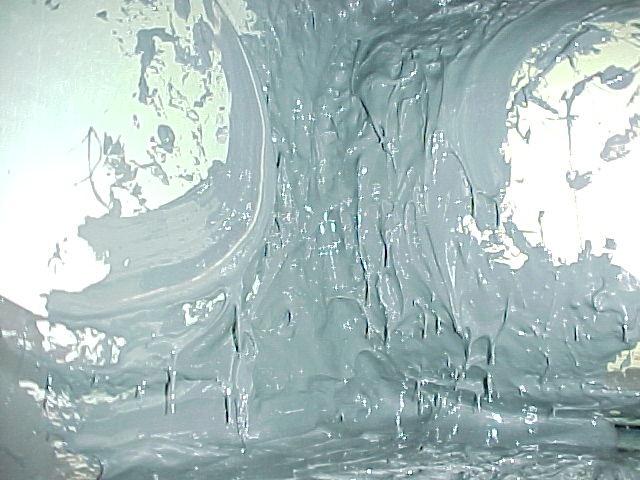
| Bottom/aft of the spar. |
| |
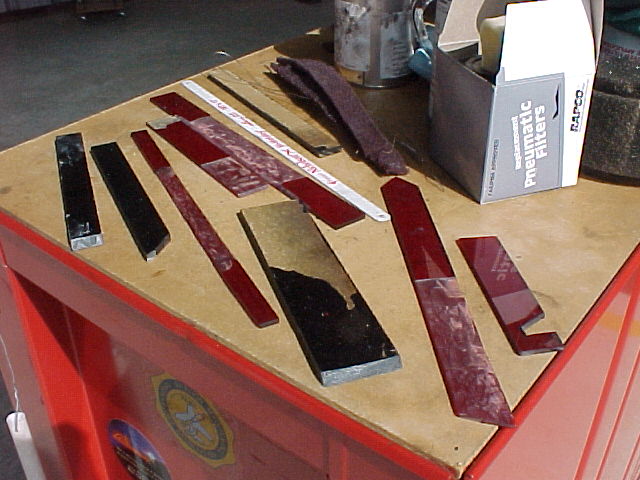
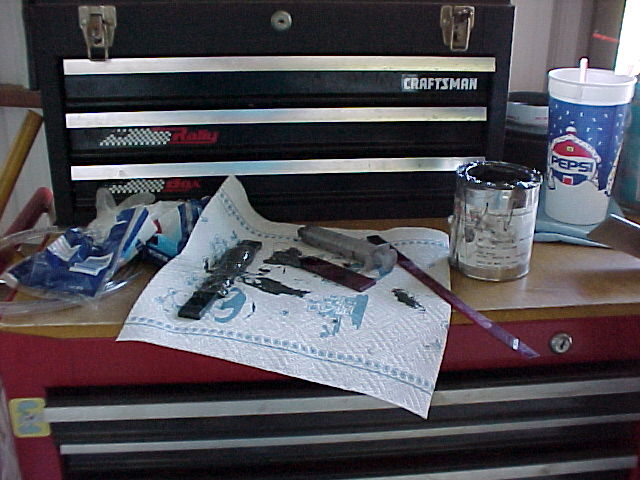
| Some of the tooling. On the paper towel are some pieces of Plexiglass used for mixing the sealant with the activator, and the syringe. The piece of Plexiglass with the odd notch cut into it (also visible here) was used to scrape the sealant can under the rim. The mixing was done in the can the sealant came in. |
|
|
| Closing up. |
|
| Next: Day 6 | Home |